
After reviving my starter this summer, I finally nailed down a sourdough bread recipe with starter that works every single time. It’s simple, approachable, and perfect for anyone who’s ready to try baking sourdough at home – even if you’ve been too intimidated to try before now. 😉
If you’re curious about the health benefits of sourdough, I shared a full breakdown in this post. But today, it’s all about the recipe itself: step-by-step instructions for how to make sourdough bread with a starter.

Ingredients
- 100g active sourdough starter
- 300g room-temperature water
- 500g flour (250g all-purpose + 250g bread flour)
- 10g salt
- 20g additional room-temperature water (to mix with the salt)
Tools You’ll Need
- Banneton + tool kit – I use this all-in-one set from Superbaking, which comes with the banneton, bench scraper, cleaning brush, and scoring lame all in one bundle.
- Large mixing bowl
- Kitchen scale
- Dutch oven with lid
- Parchment paper or sling
SHOP HERE:

Steps to Prep the Dough
- Mix – In a large bowl, combine 100g active sourdough starter + 300g water + 500g flour. Mix until no dry flour remains. Cover and let rest for 30 minutes (this step is called autolyse).
Tip: keep your hands wet when handling the dough – it helps prevent sticking. - Add Salt + Water – Sprinkle 10g salt over the dough and pour in 20g water. Press the salt into the dough with your fingertips, then press and fold for about 6 minutes until it’s combined. The dough will feel rubbery at first, then sticky again. That’s exactly what you want.
- Rest – Cover the dough and let it rest for 45 minutes.
- Stretch + Folds – Do 3 rounds of stretch-and-folds, each 45 minutes apart:
- 1st: 45 minutes after adding the salt
- 2nd: 45 minutes later
- 3rd: 45 minutes later
- Bulk Ferment – Cover and let the dough rest until it has doubled in size (usually about 2 hours after the last fold, depending on your kitchen temp. For reference, I keep mine around 73°F).
- Flour the Banneton – Generously dust your banneton with all-purpose flour. If you have rice flour, even better – it prevents sticking.
- Shape – Gently shape your dough into a round and place it seam-side up in the floured banneton.
- Cold Proof – Cover with a linen cloth, slip the banneton into a plastic bag, and refrigerate overnight (18–24 hours).
Baking Steps
- Preheat – Place your Dutch oven (with the lid on) inside your oven and preheat to 475°F for 45 minutes. A hot pot = a gorgeous crust.
- Prep the Dough – While the oven preheats, remove the dough from the fridge and cut a piece of parchment paper large enough to cradle it. (I’ve found a sling is better to avoid dents in the bread.)
- Flip + Score – Place the parchment (or sling) over your banneton, flip the dough out onto the counter (seam down), dust off any excess flour, and score the top.
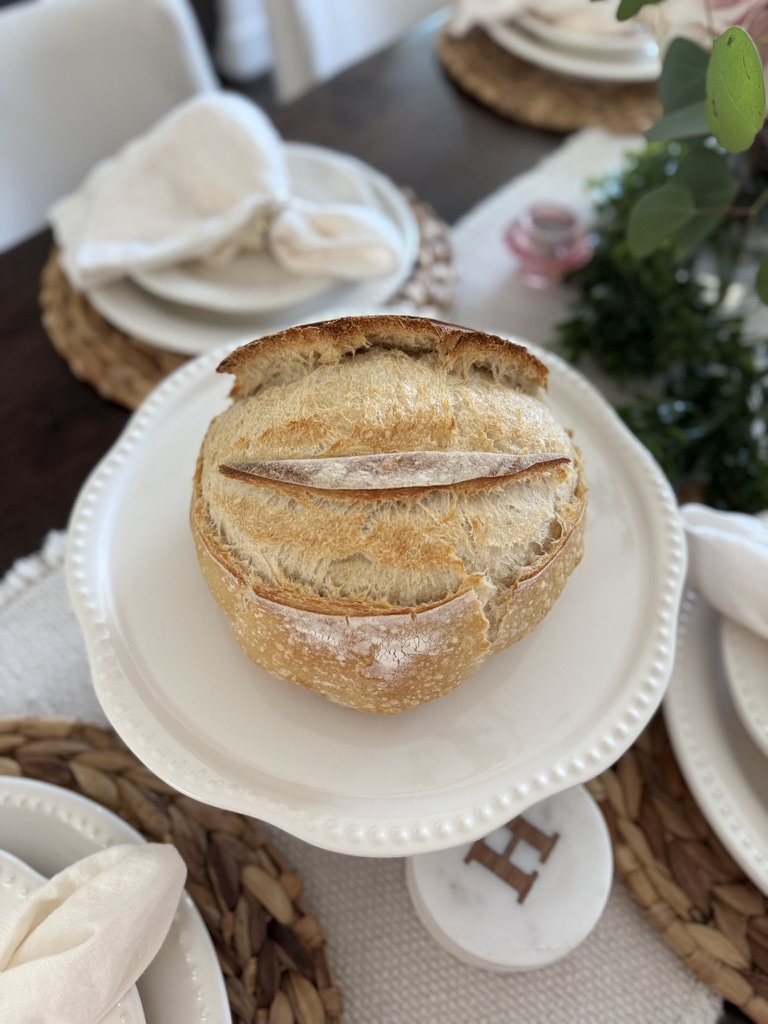
I like doing two long, slightly curved slashes – almost like a crescent moon. - Bake – Transfer the dough (on parchment) into the hot Dutch oven. Cover and bake for 25 minutes. Remove the lid, lower the temp to 425°F, and bake uncovered for another 20 minutes until golden and crisp.
- Cool Before Slicing – Remove the bread from the pot and let it cool for at least 2 hours before slicing. This is the hardest step, but so worth it – the inside continues to cook as it cools, and you’ll hear that beautiful crackling sound.
SHOP HERE:
Final Thoughts
This sourdough bread recipe with starter makes one loaf, but you can easily double it if you want two. It also freezes beautifully – just slice it first so you can toast individual pieces later.
The first loaf always feels like a small victory, and once you hear that crust crackle, you’ll know exactly why baking sourdough at home is so rewarding. If you have any questions, feel free to DM on Instagram or send an email at sonia@mrsprofresh.com.
xoxo,
Sonia
Feeling inspired? Pin me for later!


0 comments
[…] Of course, bread is still bread – but if I’m going to enjoy it (and I absolutely do), I feel better choosing sourdough. And if you’re ready to bake your own loaf, I’ve shared my sourdough bread recipe with starter here. […]
[…] you’re looking for my plain sourdough loaf first, I recommend starting with my regular sourdough bread recipe before jumping into this […]
[…] crusty bread (sourdough is my personal […]